 Lower Mainland - Hwy 1 (Fraser Valley)
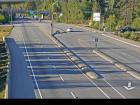
Hwy 1 at 176 Street - N
Highway 1 at 176 Street overpass, looking north.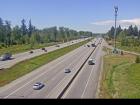
Hwy 1 at 176 Street - W
Highway 1 at 176 Street overpass, looking west.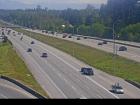
Hwy 1 at 176 Street - E
Highway 1 at 176 Street overpass, looking east.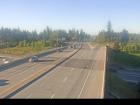
Hwy 1 at 176 Street - S
Highway 1 at 176 Street overpass, looking south.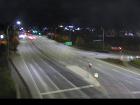
Hwy 1 at 200 Street - N
Highway 1 at 200 Street, looking north.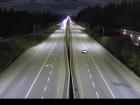
Hwy 1 at 200 Street - W
Highway 1 at 200 Street, looking west.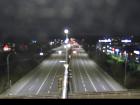
Hwy 1 at 200 Street - E
Highway 1 at 200 Street, looking east.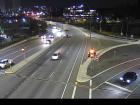
Hwy 1 at 200 Street - S
Highway 1 at 200 Street, looking south.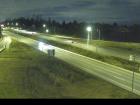
Hwy 1 at 216 Street - W
Highway 1 at 216 Street overpass, looking west.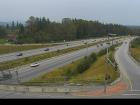
Hwy 1 at 216 Street - E
Highway 1 at 216 Street overpass, looking east.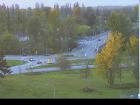
Hwy 1 at 232 Street - N
Highway 1 westbound on-ramp from 232 Street, looking north.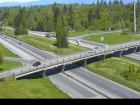
Hwy 1 at 232 Street - W
Highway 1 at 232 Street overpass, looking west.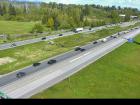
Hwy 1 at 232 Street - E
Highway 1 at 232 Street Overpass, looking east.
Hwy 1 at 232 Street - S
Highway 1 eastbound on-ramp from 232 Street, looking south.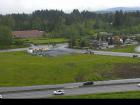
Hwy 1 at 264 Street - N
Highway 1 off-ramp to 264 Street, looking north.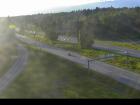
Hwy 1 at 264 Street - W
Highway 1 at 264 Street, looking west.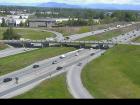
Hwy 1 at 264 Street - E
Highway 1 at 264 Street, looking east.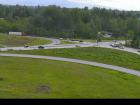
Hwy 1 at 264 Street - S
Highway 1 on-ramp from 264 Street, looking south.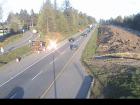
Bradner Road
Highway 1 near Bradner Road, looking east.
Bradner Road - W
Highway 1 near Bradner Road, looking west.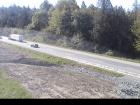
Bradner Road - E
Highway 1 eastbound near Bradner Road, looking east.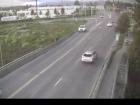
Mount Lehman - N
Highway 1 at Mount Lehman Road, looking north.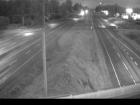
Mount Lehman - W
Highway 1 at Mount Lehman Road, looking west.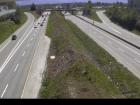
Mount Lehman - E
Highway 1 at Mount Lehman Road, looking east.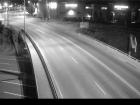
Mount Lehman - S
Highway 1 at Mount Lehman Road, looking south.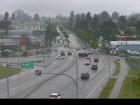
Clearbrook - N
Highway 1 at Clearbrook Road, looking north.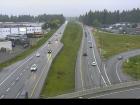
Clearbrook - W
Highway 1 at Clearbrook Road, looking west.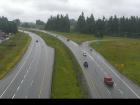
Clearbrook - E
Highway 1 at Clearbrook Road, looking east.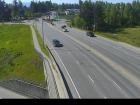
Clearbrook - S
Highway 1 at Clearbrook Road, looking south.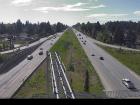
McCallum Road - W
Highway 1 at McCallum Road overpass, looking west.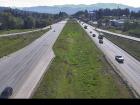
McCallum Road - E
Highway 1 at McCallum Road overpass, looking east.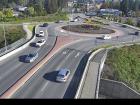
McCallum Road Roundabout Northbound
Highway 1 at McCallum Road roundabout, looking north.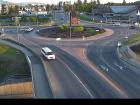
McCallum Road Roundabout Southbound
Highway 1 at McCallum Road roundabout, looking south.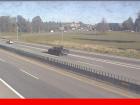
Sumas Way - N
Highway 1 at Highway 11 (Sumas Way) interchange in Abbotsford, looking north.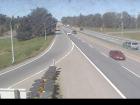
Sumas Way - W
Highway 1 at Highway 11 (Sumas Way) interchange in Abbotsford, looking west.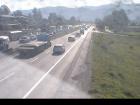
Sumas Way - E
Highway 1 at Highway 11 (Sumas Way) interchange in Abbotsford, looking east.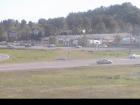
Sumas Way - S
Highway 1 at Highway 11 (Sumas Way) interchange in Abbotsford, looking south.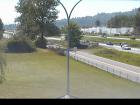
Cole Road - W
Highway 1 at Cole Road Rest Area, looking west.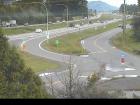
Cole Road - E
Highway 1 at Cole Road Rest Area, looking east.
Vedder Canal Bridge - W
Highway 1 at the Vedder Canal Bridge, looking westbound.
Vedder Canal Bridge - E
Highway 1 at Vedder Canal Bridge, looking eastbound.
Evans Road - N
Highway 1 at Evans Road overpass near Chilliwack, looking north.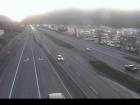
Evans Road - W
Highway 1 at Evans Road overpass near Chilliwack, looking west.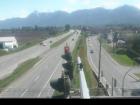
Evans Road - E
Highway 1 at Evans Road overpass near Chilliwack, looking east.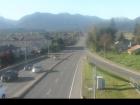
Evans Road - S
Highway 1 at Evans Road overpass near Chilliwack, looking south.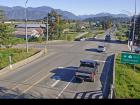
Prest Road - N
Highway 1 at Prest Road in Chilliwack, looking north.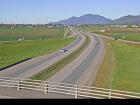
Prest Road - W
Highway 1 at Prest Road in Chilliwack, looking west.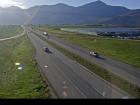
Prest Road - E
Highway 1 at Prest Road in Chilliwack, looking east.
Prest Road - S
Highway 1 at Prest Road in Chilliwack, looking south.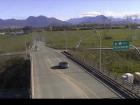
Annis Road - N
Highway 1 at Annis Road overpass, looking north.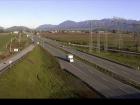
Annis Road - W
Highway 1 at Annis Road overpass, looking west.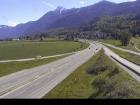
Annis Road - E
Highway 1 at Annis Road overpass, looking east.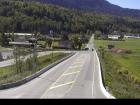
Annis Road - S
Highway 1 at Annis Road overpass, looking south.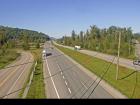
Bridal Falls - W
Highway 1 near Bridal Falls, looking west.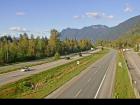
Bridal Falls - E
Highway 1 near Bridal Falls, looking east.
Herrling Island - W
Highway 1 near Herrling Island, looking west.
Herrling Island - E
Highway 1 near Herrling Island, looking east.
Herrling Island Overpass - N
Highway 1 at Herrling Island overpass, looking north.
Herrling Island Overpass - W
Highway 1 westbound at Herrling Island overpass, looking west.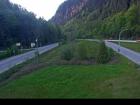
Herrling Island Overpass - E
Highway 1 westbound at Herrling Island overpass, looking east.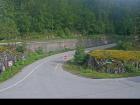
Herrling Island Overpass - S
Highway 1 at Herrling Island overpass, looking south.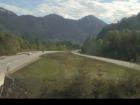
Hunter Creek
Highway 1 at Hunter Creek, looking east.


